Post by Shelly on Jan 1, 2013 9:26:33 GMT -8
Hello again!! my first batch of marbleds are growing up and a new batch has been laid, hatched and has started roaming by momma cray. in the middle of all of this i was given a 20 gal tank from a friend who found it. so i will go through and describe the pics
because of the cold weather the whole hatching process took a really long time. but on christmas day the babies started roaming!!!
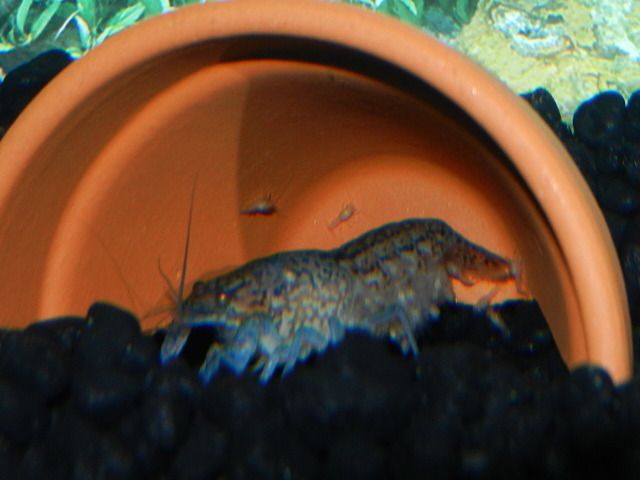
before they started roaming, i finally got to clean the tank- brown water was in the bucket after vacuuming the gravel, you would never know it looking at the tank though. another quick vacuum was done to day prior to taking the divider out. and of course i had to get a pic of the babies!
and momma cray while the tank was being cleaned. the eggs are hatched- those are the babies under her tail!
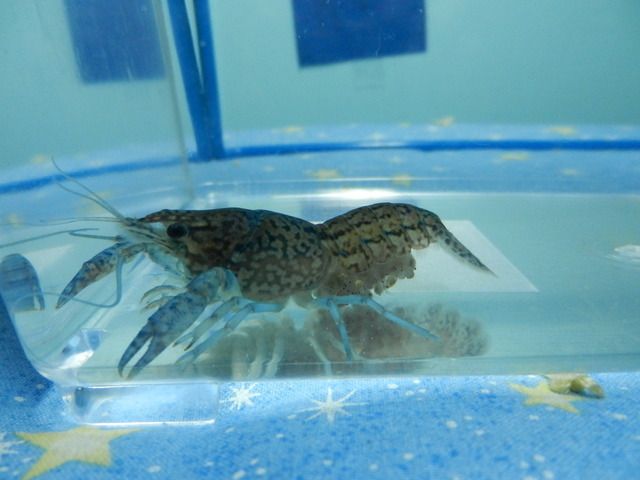
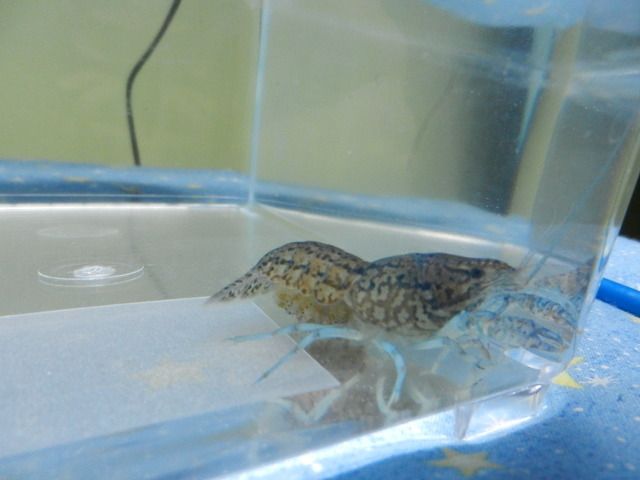
lately she has been roaming later in the day. its usually when the babies have gone back on her tail for the night- which i think is so cute! she is climbing the divider
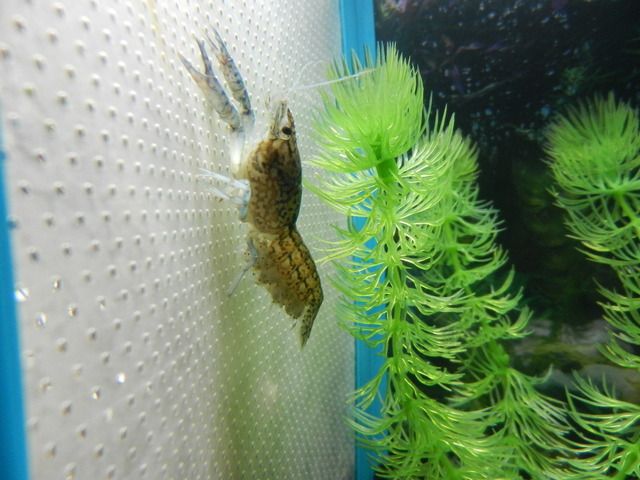
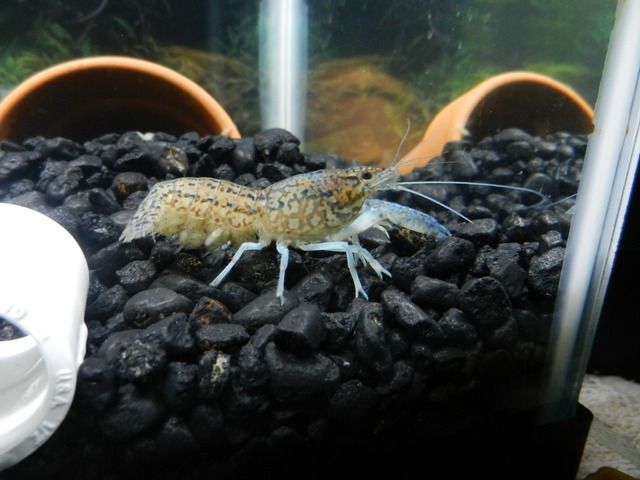
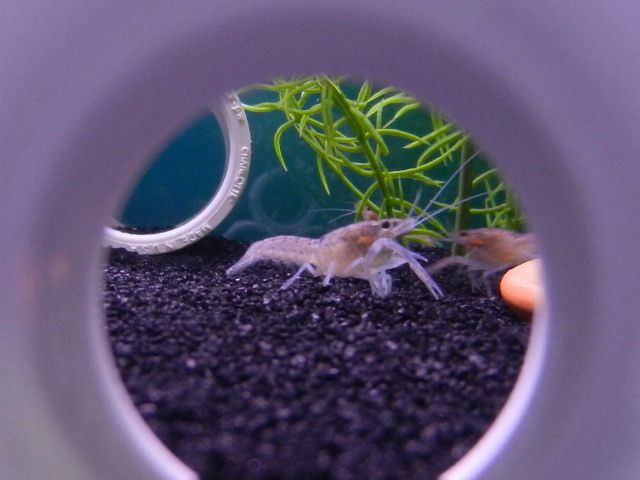
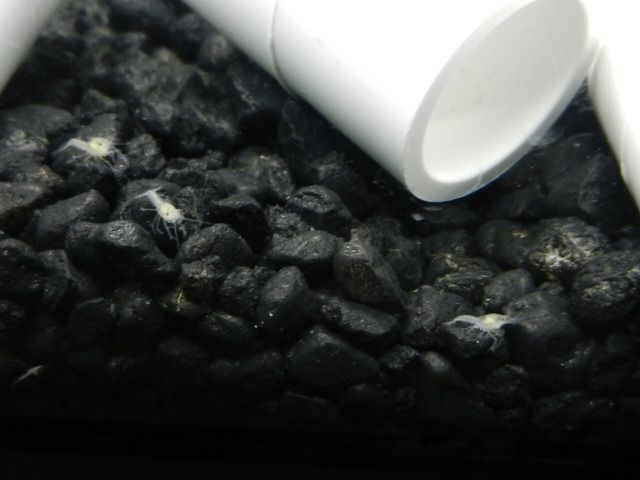
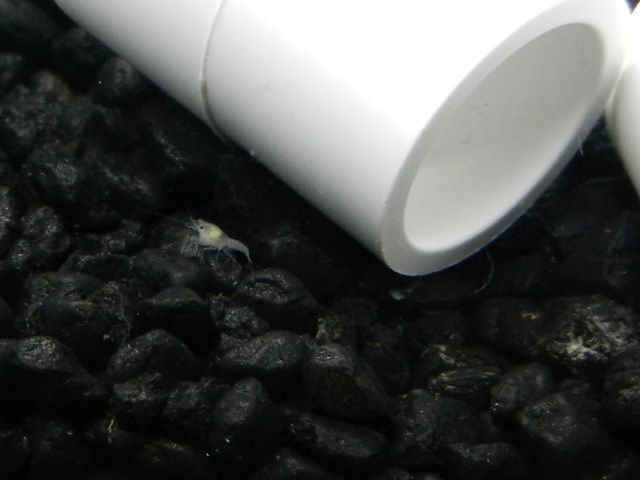
roaming babies!! (thats 1/2 in PVC pipe, just to compare for size.....)
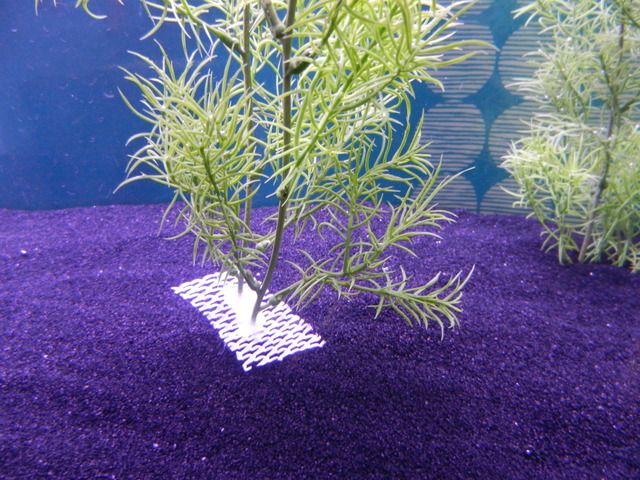
and now for the big finish!!! first i went to AC Moore, coupon in hand to buy a plant that i was/did modify for the baby crayfish tank (this is the DIY plant part! ) after separating (cutting) the plastic parts off the plastic covered wire base, i got to work pitting together some plants. we get pizza that has this plastic mesh under it, which is very useful around the fish once washed off. so i but bases for the plants and glued them on with hot glue (i have used hot glue in the tanks before and nothing has happened). i made 2 tall plants, one short cluster of plants, and 2 short plants, and i have tons of little pieces left that will be used in breeder traps to comfort fish
the plant base
i then designed the tank. putting decor in... the water was 56 degrees! then i decided to put the heater in after to make the babies transition easier. the heater won't be in for long, and its not set to be really hot either.
and then i buried those in the sand and added the PVC pipe and terra-cotta bases for food.. and boom! here is the tank!!!
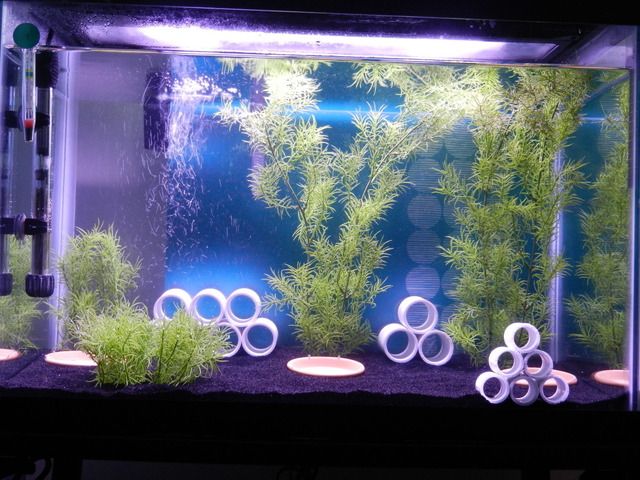
my DIY plants left to right: 2 small plants, cluster of plants, big plant, big plant
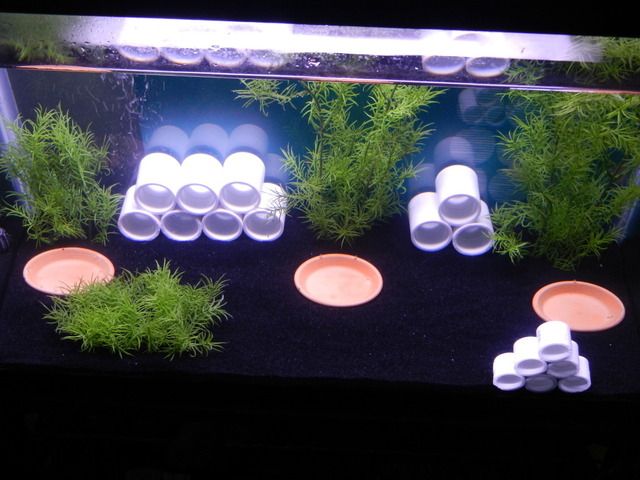
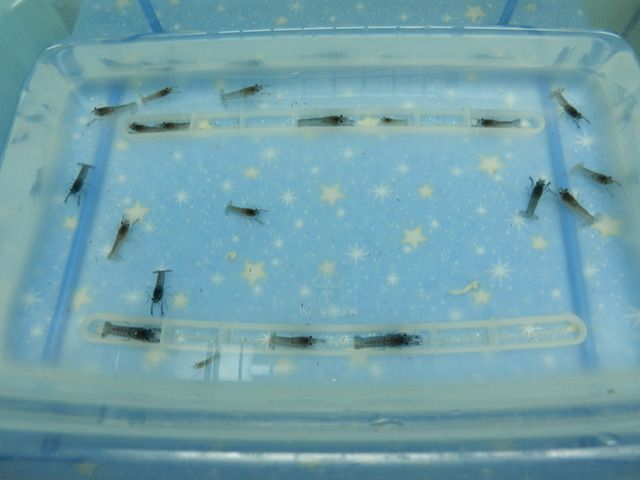
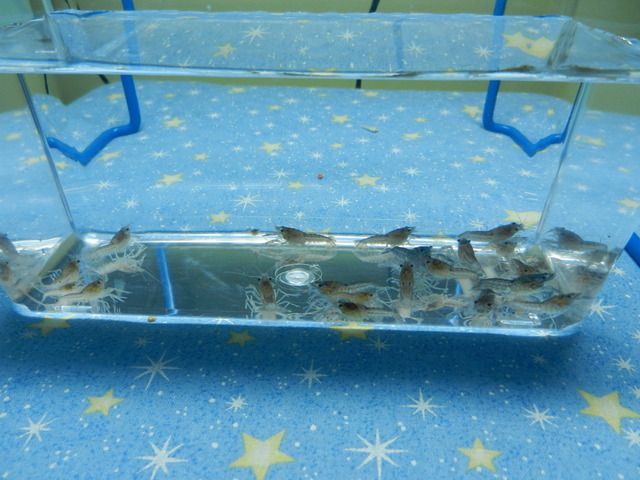
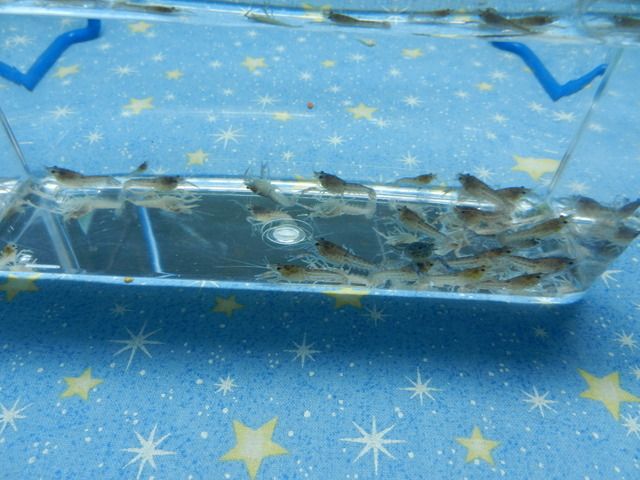
and of course the babies before putting them in. they are now 3 months old
my costs for the tank:
Stand: $30
Tank: free
Florescent light and hood: free
Filter: free
Black sand: Christmas present (free!)
All plants: $5.30
PVC pipe: $8
Terra-cotta bases: $2.40
Heater: free
soon i will post a link on this thread to my video of them being released into the tank!!
thanks for reading!
because of the cold weather the whole hatching process took a really long time. but on christmas day the babies started roaming!!!

before they started roaming, i finally got to clean the tank- brown water was in the bucket after vacuuming the gravel, you would never know it looking at the tank though. another quick vacuum was done to day prior to taking the divider out. and of course i had to get a pic of the babies!

and momma cray while the tank was being cleaned. the eggs are hatched- those are the babies under her tail!


lately she has been roaming later in the day. its usually when the babies have gone back on her tail for the night- which i think is so cute! she is climbing the divider


roaming babies!! (thats 1/2 in PVC pipe, just to compare for size.....)


and now for the big finish!!! first i went to AC Moore, coupon in hand to buy a plant that i was/did modify for the baby crayfish tank (this is the DIY plant part! ) after separating (cutting) the plastic parts off the plastic covered wire base, i got to work pitting together some plants. we get pizza that has this plastic mesh under it, which is very useful around the fish once washed off. so i but bases for the plants and glued them on with hot glue (i have used hot glue in the tanks before and nothing has happened). i made 2 tall plants, one short cluster of plants, and 2 short plants, and i have tons of little pieces left that will be used in breeder traps to comfort fish
the plant base

i then designed the tank. putting decor in... the water was 56 degrees! then i decided to put the heater in after to make the babies transition easier. the heater won't be in for long, and its not set to be really hot either.
and then i buried those in the sand and added the PVC pipe and terra-cotta bases for food.. and boom! here is the tank!!!

my DIY plants left to right: 2 small plants, cluster of plants, big plant, big plant

and of course the babies before putting them in. they are now 3 months old


my costs for the tank:
Stand: $30
Tank: free
Florescent light and hood: free
Filter: free
Black sand: Christmas present (free!)
All plants: $5.30
PVC pipe: $8
Terra-cotta bases: $2.40
Heater: free
soon i will post a link on this thread to my video of them being released into the tank!!
thanks for reading!




 i find it less gross than amphibians shedding their skin. my frog was shedding his and his head to his "waist" was shedded and gone leaving it loose only at the top of his waist making look like her was wearing tights!
  i take care of my neighbors when they go on vacation and i am so afraid i will see one with out its shell!!!
